Repotting your plants is crucial for their health and growth. It gives them fresh soil, allowing nutrients to flow and preventing depletion. However, many worry about damaging the roots during this process. Studies show that about 75% of growers face issues when repotting, leading to reduced growth. But don’t fret! With the right techniques, you can repot plants safely and keep their roots intact.
Prep for Repotting
Timing Matters
Timing plays a crucial role in repotting your houseplants. The best time to repot is late winter. During this period, plants wake up from their winter dormancy and start to grow again. You want to avoid repotting when your plant is flowering or during extreme weather. Doing so can stress the roots and lead to issues like premature flower drop or root instability.
Choosing Pot and Soil
Selecting the right pot and soil is just as important as timing. Here are some tips to help you choose wisely:
Drainage: Always pick a pot with drainage holes. This prevents excess moisture, which can lead to root rot.
Size: Choose a pot that is 1-2 inches larger in diameter than the current one. This gives the roots room to grow without overwhelming the plant.
Material: Consider the pot’s material. Plastic pots often lack proper drainage, while ceramic and terracotta pots offer better moisture regulation. They help keep the roots healthy by preventing waterlogging.
Soil Composition: Use a well-draining, peat-based potting mix for most indoor plants. This type of soil supports healthy root growth and prevents rot. For specific plants like succulents or orchids, specialized mixes are best.
By paying attention to timing and making smart choices about pots and soil, you set your plants up for success during repotting.
How to Repot a Plant Safely
Removing the Plant
When you’re ready to repot a plant, start by preparing your workspace. Gather your new pot, high-quality potting soil, and any tools you might need. Here’s a simple step-by-step guide to help you remove the plant without damaging its roots:
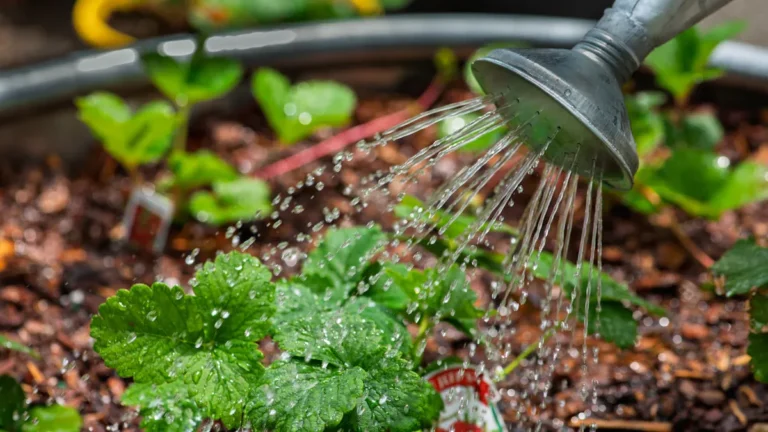
Water the plant one to two days before repotting. This helps to loosen the soil and makes it easier to remove the plant.
Gently tap the sides of the pot or squeeze it to loosen the root ball. If the plant is in a plastic pot, this should be straightforward. For clay pots, you might need to run a knife around the inside to help release the roots.
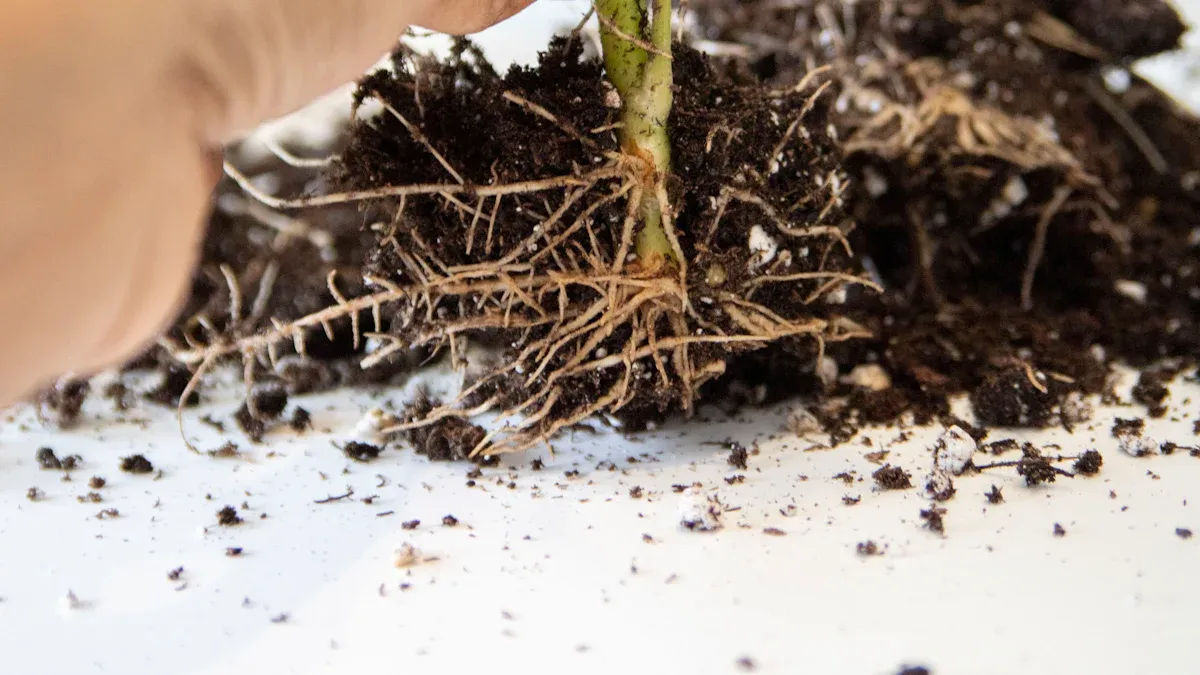
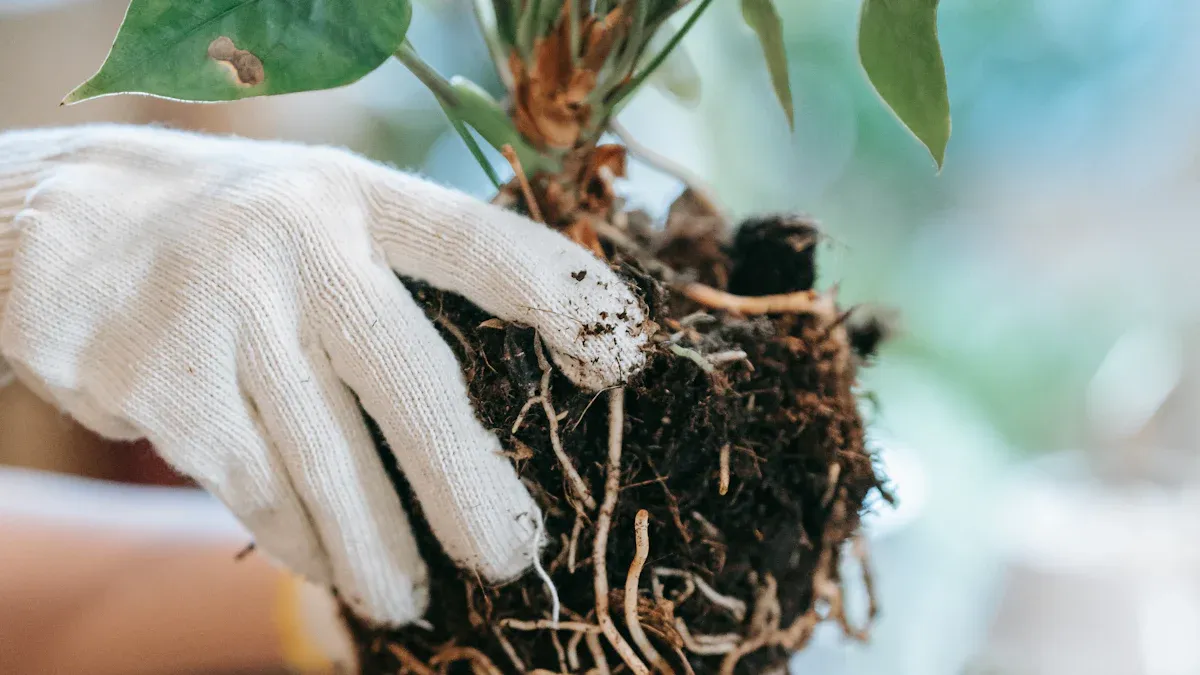
Carefully pull the plant out, supporting the base and avoiding any tugging on the stems. If you encounter resistance, don’t force it; instead, try to massage the root ball gently to loosen it further.
Inspect the roots. If you see any circling around the root ball, it’s a sign that your plant is root bound.
When a plant becomes root bound, its roots grow in a circling pattern around the container. Symptoms include stunted growth and intertwined roots visible when checking the root ball.
Handling Root Bound Plants
If your plant is root bound, don’t worry! You can still repot it successfully. Here are some tips to handle root-bound plants:
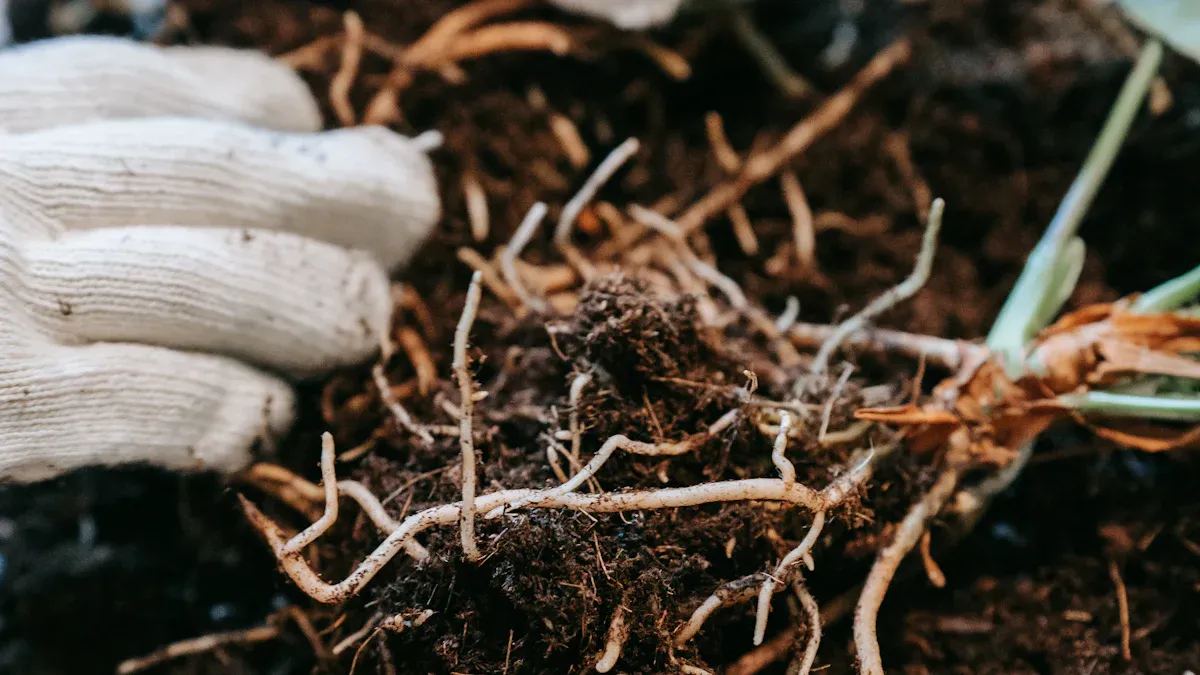
Gently squeeze the root ball to loosen it.
Carefully pull the roots apart to free them. This encourages new growth and allows the roots to spread out in the new pot.
Trim any excessively long or damaged roots, but only if necessary. You want to promote healthy growth without causing stress.
Common symptoms of a root-bound plant include frequent wilting, stunted growth, and yellowing leaves. To check, look for roots growing out of the drainage holes.
Positioning in the New Pot
Now that you’ve removed the plant and dealt with any root issues, it’s time to position it in the new pot. Here’s how to do it effectively:
Start by adding a layer of fresh potting soil to the bottom of the new pot. Pack it down lightly to remove air pockets.
Center the plant in the pot, ensuring it sits at the same depth as it did in the old pot. The top roots should be about half an inch below the rim to prevent exposure during watering.
Backfill around the sides with more potting soil, tapping the pot gently to settle the soil. Leave about half an inch of space from the soil to the pot’s lip.
Filling and Watering
After positioning your plant, it’s time to fill in the gaps and give it a drink:
Fill the remaining space with fresh potting soil, ensuring it’s not packed too tightly. This allows for air circulation while providing enough support to keep the plant stable.
Water the plant thoroughly after repotting. This helps to reduce transplant shock and ensures the soil settles around the roots.
Remember to monitor your plant closely for the next few weeks. Look for signs of root rot, such as wilting or yellowing leaves, and adjust your care routine accordingly.
By following these steps, you can repot your houseplants safely and effectively, ensuring their roots remain healthy and ready to thrive in their new environment.
Repotting your plants can be a rewarding experience when done carefully. Remember these key steps:
Choose the right time and materials.
Handle the roots gently during removal.
Monitor your plant closely after repotting.
Watch for signs of stress like wilting, yellowing leaves, or slowed growth. Typically, plants take about 1 to 3 weeks to recover. With proper care, your plants will thrive in their new homes!