Vegetable gardening offers you fresh produce and boosts your mental well-being. Studies show that gardening can lower dementia risk by 36% and improve overall health. Many beginners worry about space, time, and knowledge. Starting small helps you avoid frustration and allows for gradual growth in your gardening journey.
Key Takeaways
Start your vegetable garden with easy-to-grow seeds like bush beans and lettuce. This builds confidence and ensures a successful first harvest.
Choose a sunny location for your garden. A south-facing yard is ideal, and starting small helps you manage your space effectively.
Practice crop rotation to enhance soil health and productivity. Rotate different plant families each year to prevent disease and improve nutrient balance.
Seed Starting Basics
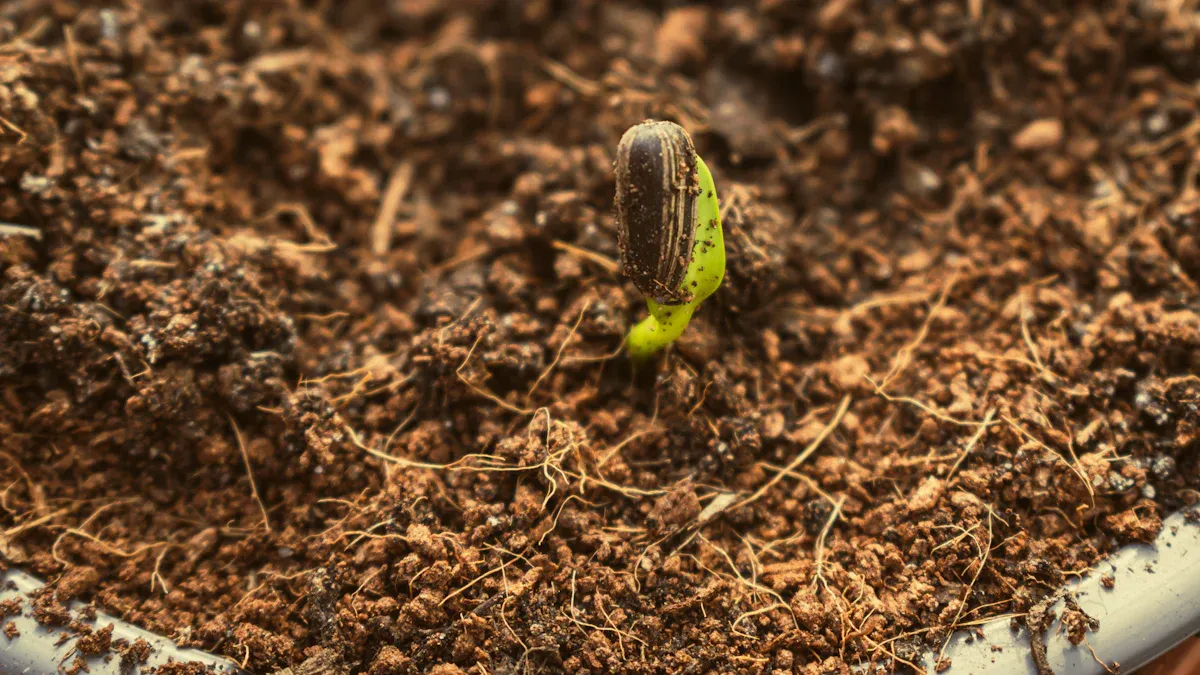
Selecting Seeds
Starting a vegetable garden begins with choosing the right seeds. As a beginner, you want to pick seeds that are easy to grow and have high germination rates. Here are some great options for you:
Bush Beans: Blue Lake 274 – Reliable and productive, quick harvest.
Beets: Detroit Dark Red – Versatile, sweet roots, and nutritious greens.
Carrots: Imperator 58 – Grows well in loose soil, sweet and crunchy.
Lettuce: Black Seeded Simpson – Quick growth, ideal for salads.
Radishes: Champion – Fast-growing, ready in about three weeks.
Cucumbers: Spacemaster – Thrives in warm soil, good for small spaces.
Spinach: Bloomsdale Long Standing – Quick to grow, nutritious greens.
Zucchini: Black Beauty – Prolific and easy to grow.
Broccoli: Calabrese – Easy to grow, thrives in cool weather.
Collard Greens: Georgia Southern – Hardy and productive.
When you’re deciding what seeds to start, consider your local climate and the time of year. For instance, you should start seeds indoors about six weeks before the last frost date. Fast-growing crops like lettuce and spinach can be started just three to four weeks ahead. On the other hand, slow-growing crops like celery may need ten to twelve weeks.
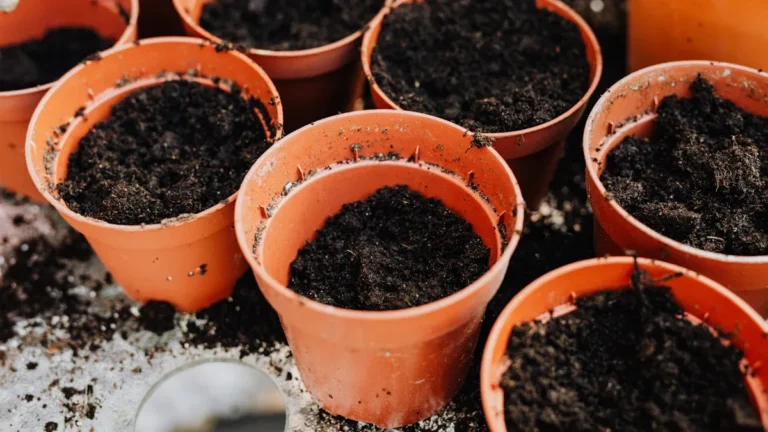
Preparing Seed Mix
A good seed starting mix is crucial for successful germination. You can create your own mix using these ingredients:
Sphagnum peat moss (or coco coir)
Perlite
Vermiculite
Sphagnum peat moss retains moisture effectively, while coco coir is a sustainable alternative with similar properties. Perlite enhances drainage and aeration, while vermiculite helps retain moisture. Together, these ingredients create an optimal environment for your seeds.
It’s also important to consider the pH level of your seed starting mix. Research shows that a pH level around 5.5 yields the best germination rates for many vegetables. Here’s a quick look at how different pH levels affect germination:
pH Level | Germination Rate (B. juncea) | Germination Rate (R. sativus) |
|---|---|---|
5.5 | 0.94 – 0.98 | 0.99 |
4 | 0.94 – 0.98 | 0.87 – 0.94 |
2.5 | 0% | 0.76 – 0.83 |
By following these tips on selecting seeds and preparing your seed mix, you’ll set yourself up for a successful start in your vegetable gardening journey. Remember, starting small and learning as you go will make the process enjoyable and rewarding!
Vegetable Garden Planning
Location and Size
Choosing the right location for your vegetable garden is crucial. You want a spot that gets plenty of sunlight. Here are some tips to help you find the best place:
South-facing yards receive the most sun, making them ideal for growing vegetables.
Observe your yard throughout the day to see how much sunlight different areas get. Surrounding structures can cast shade, so take note of those too.
Starting small is often more rewarding. A beginner vegetable garden can thrive in just one raised bed or a few containers.
When it comes to size, keep it manageable. A small, well-maintained garden is usually more productive than a larger one that’s hard to care for.
Soil Improvement
Healthy soil is the foundation of a successful vegetable garden. Here are some effective techniques to improve your soil:
Add organic matter like compost, manure, or peat moss. This boosts soil fertility and helps retain moisture.
Use cover crops such as rye or oats. These can enhance soil condition when tilled under.
Prepare your soil properly by spading or rototilling. Avoid tilling when the soil is too wet, as this can lead to compaction.
Regularly adding organic matter can significantly enhance your vegetable yields and quality. Aim to increase your soil’s organic content to around 3-5% over time. This practice not only improves soil health but also ensures effective use of fertilizers.
By planning your vegetable garden’s location and improving your soil, you set the stage for a bountiful harvest. Happy gardening! 🌿
Crop Rotation Techniques
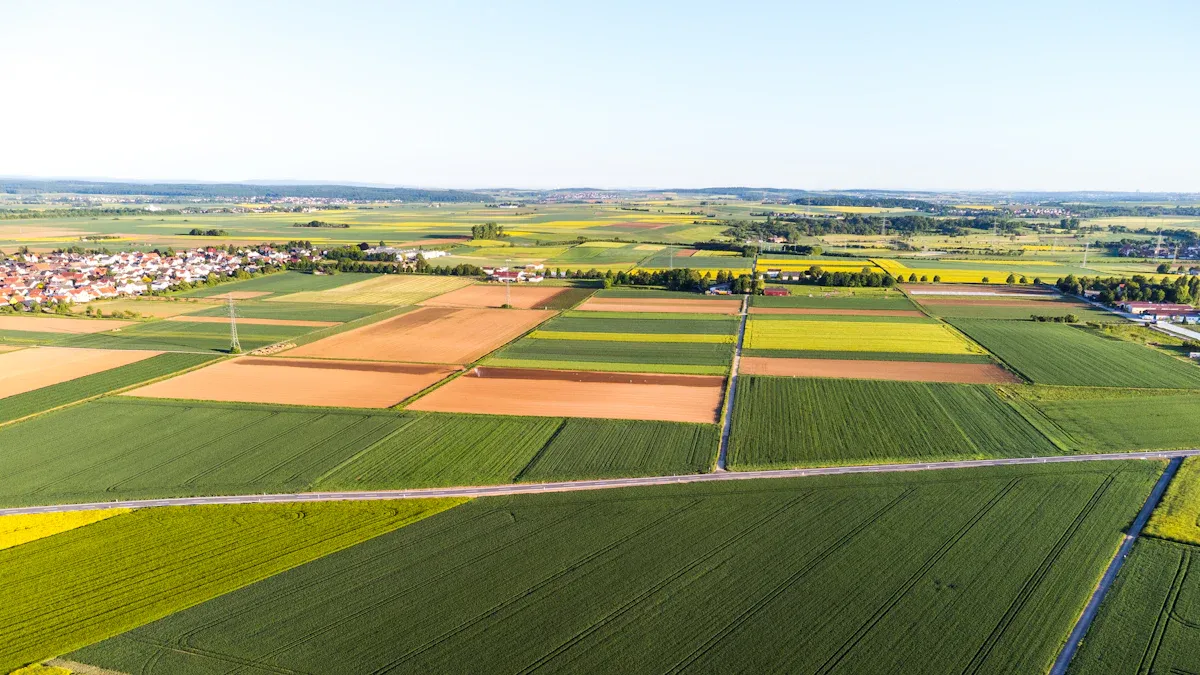
Benefits of Crop Rotation
Crop rotation is a vital practice in vegetable gardening that can significantly enhance your soil health and overall garden productivity. By rotating your crops, you can enjoy several benefits:
Benefit | Explanation |
|---|---|
Soil Fertility Enhancement | Rotating crops balances nutrient demands, prevents depletion, and enhances soil fertility through nitrogen fixation by legumes. |
Pest and Disease Management | This practice breaks pest cycles, reducing populations and the need for chemical interventions. |
Improved Soil Structure | Crop rotation maintains soil structure, increases organic matter, and enhances water retention and root development. |
Weed Suppression | Alternating crops disrupts weed life cycles, reducing competition and the need for herbicides. |
When you practice crop rotation, you help your soil stay healthy and productive. This method not only revitalizes nutrients but also encourages a diverse ecosystem in your garden.
Simple Rotation Plan
For beginners, a simple four-year crop rotation plan can be very effective. Here’s how you can get started:
Year 1: Plant legumes (like beans and peas) to fix nitrogen in the soil.
Year 2: Follow with leafy greens (such as lettuce and spinach) that benefit from the nitrogen.
Year 3: Next, plant root vegetables (like carrots and beets) that can utilize the nutrients left behind.
Year 4: Finally, grow fruiting plants (such as tomatoes and peppers) that thrive in nutrient-rich soil.
Tip: Keep a garden journal to track what you plant each year. This will help you remember where each crop was located and when to rotate them.
To effectively manage soil-borne diseases, avoid planting the same plant family in the same location for at least 3 to 4 years. This practice helps reduce the buildup of disease organisms in the soil. Here are some vegetable families to consider rotating:
Alliums: Onions, garlic, leeks
Legumes: Beans, peas
Brassicas: Broccoli, cabbage, kale
Nightshades: Tomatoes, peppers, eggplants
Cucurbits: Zucchini, cucumbers, melons
By following this simple rotation plan, you can maintain healthy soil and enjoy a bountiful vegetable garden. Remember, the key to successful gardening is to keep learning and adapting your practices as you go! 🌱
Harvesting Tips
When to Harvest
Knowing when to harvest your vegetables is key to enjoying the best flavor and nutrition. Here are some signs that indicate your vegetables are ready:
Vegetable | Sign of Readiness |
|---|---|
Carrots | Develop a deep orange color. |
Bell Peppers | Change from green to their designated color. |
Zucchinis | Harvest when they’re 6-8 inches long. |
Cucumbers | Pick when they’re firm and about 6-8 inches long. |
Eggplants | Should be firm and glossy. |
Cabbage | Should feel solid and dense. |
Radishes/Beets/Carrots | Perform a gentle tug to assess readiness. |
Melons | A sweet aroma near the stem indicates ripeness. |
Herbs | Strong, aromatic scents suggest they are ready. |
Leafy Greens | Can be picked as soon as they reach a desirable size. |
Tomatoes | Harvest before the first frost. |
Potatoes | Harvest before the ground freezes. |
Harvesting at peak maturity enhances taste and yield. Morning is the best time to pick heat-sensitive vegetables. This preserves moisture and improves shelf life.
Harvesting Methods
Using the right tools makes harvesting easier and minimizes damage to your produce. Here are some recommended tools:
Pruning Shears: Great for cutting through tougher stems.
Knife: Perfect for leafy greens and slicing off heads of lettuce.
Scissors: Effective for harvesting herbs.
Hands: Ideal for picking beans and peas.
When you harvest, handle your vegetables gently to avoid bruising. After harvesting, store your produce properly to maximize freshness. Here are some tips:
Grow a reliable storage variety.
Pick vegetables at the right time.
Give your vegetables enough time to cure.
Pay attention to temperature and humidity requirements.
Keep certain crops away from others in storage.
By following these harvesting tips, you can enjoy the fruits of your labor while ensuring your vegetables stay fresh and delicious! 🌽🥕
Starting your vegetable gardening journey can be incredibly rewarding! Growing your own vegetables not only provides fresh produce but also brings joy and satisfaction. You’ll experience reduced stress and a deeper connection with nature. Remember, practice makes perfect. Enjoy the process, learn from your experiences, and watch your skills grow! 🌱
Tip: Start small and expand as you gain confidence. This way, gardening remains fun and engaging!
FAQ
What is the best time to start a vegetable garden?
You should start your vegetable garden in early spring, after the last frost date, for optimal growth.
How often should I water my vegetable garden?
Water your vegetable garden deeply once a week, adjusting based on rainfall and temperature.
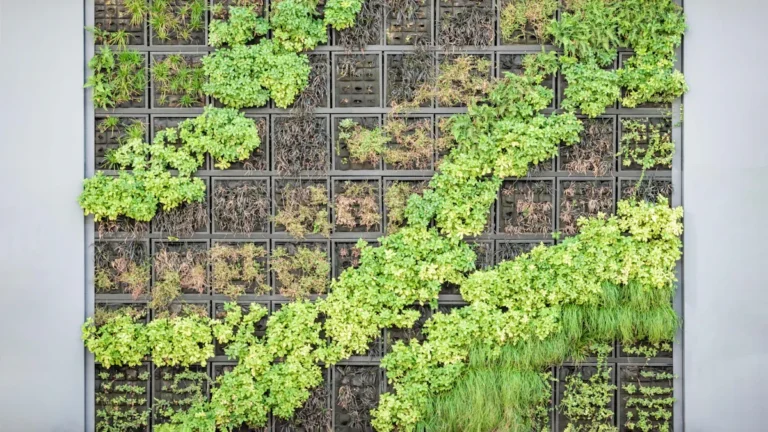
Can I grow vegetables in containers?
Absolutely! Container gardening works well for small spaces and allows you to grow a variety of vegetables.