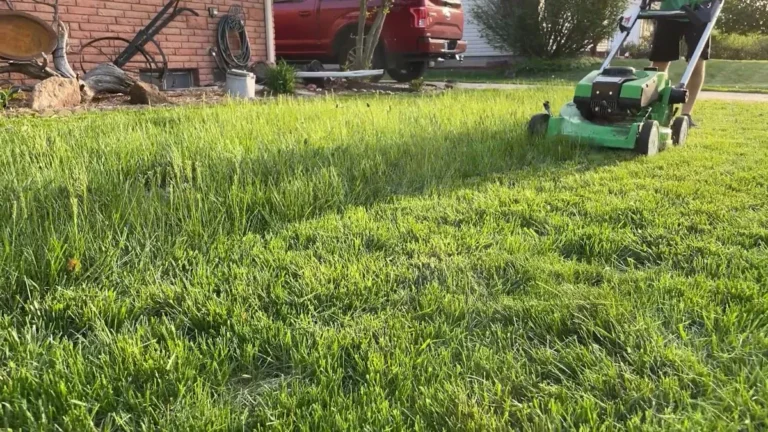
Imagine it’s a sunny Saturday morning. You step outside to mow your lawn, only to discover your lawn mower won’t start. Frustration sets in as you realize that many homeowners face similar lawn mower problems. Understanding these common problems is essential for maintaining a healthy lawn. By learning how to troubleshoot effectively, you can save time and effort. Follow along for practical solutions that will keep your mower running smoothly.
Key Takeaways
Regularly check and replace the spark plug to ensure your mower starts easily and runs efficiently.
Keep the air filter clean and replace it annually to maintain optimal airflow and engine performance.
Inspect and sharpen mower blades at least once a season for clean cuts and to promote healthy grass growth.
Perform seasonal maintenance checks, including oil changes and cleaning, to prevent common mower problems.
Use fresh fuel and consider adding a stabilizer when storing your mower to avoid starting issues.
Starting Issues

Lawn mower starting problems can be frustrating. You may find yourself ready to tackle your lawn, only to face an unresponsive engine. Here are some common issues and their solutions.
Engine Won’t Start
If your lawn mower won’t start, several factors could be at play. According to repair statistics, the most common reasons for this issue include:
Reason | Percentage of Issues | Cost to Fix |
|---|---|---|
Old or Contaminated Fuel | 40% | $15-20 |
Dirty Spark Plug | 25% | $5-15 |
Clogged Air Filter | 20% | $8-20 |
Carburetor Problems | 10% | $15-120 |
To troubleshoot this issue, follow these steps:
Check the fuel and ensure it is fresh.
Inspect the spark plug for dirt or damage; clean or replace it as necessary.
Examine the air filter; clean or replace it if clogged.
Clean the carburetor to remove any deposits.
Look for any obstacles that may have damaged the mower, such as a sheared flywheel key.
If you find that the lawn mower starts then dies, it may indicate a fuel delivery issue or a problem with the carburetor.
Hard Starting
If your engine is hard to start, it can be equally annoying. This issue often stems from similar causes as the engine not starting. Here are some additional troubleshooting steps:
Ensure there is enough fresh gasoline in the tank.
Inspect the spark plug for dirt or corrosion; clean it.
Examine the air filter and clean or replace it if necessary.
Check the gas cap for proper ventilation.
Verify the oil level and quality.
Regular maintenance can help prevent these starting problems.
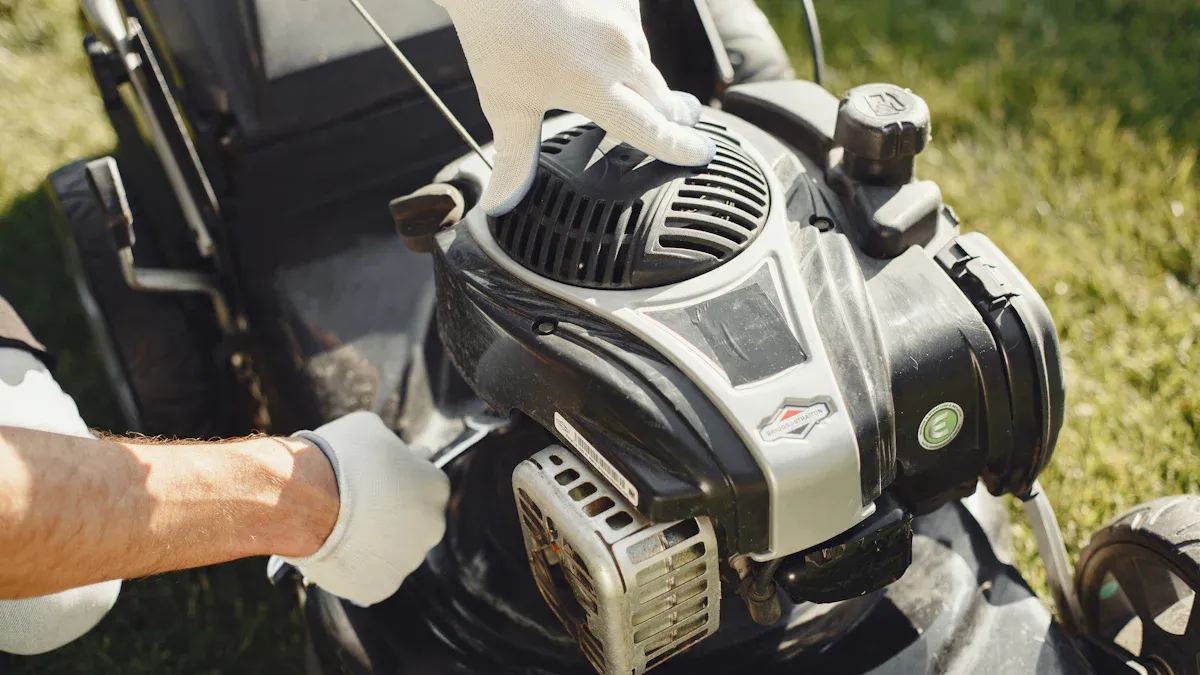
Spark Plug Problems
A defective spark plug can lead to significant starting issues. In many cases, a bad spark plug will prevent the mower from starting at all. Checking spark plugs annually helps identify wear and prevents starting issues due to seizing.
To address spark plug problems:
Remove the spark plug and inspect it for wear or damage.
Clean the spark plug with a wire brush or replace it if necessary.
Ensure the spark plug gap is set correctly according to the manufacturer’s specifications.
By following these lawn mower troubleshooting steps, you can resolve starting issues and keep your mower in top shape.
Engine Issues
Engine troubles can significantly affect your lawn mower’s performance. Understanding these issues helps you troubleshoot effectively and keep your mower running smoothly. Here are some common engine problems and how to address them.
Overheating
If your lawn mower overheats, it can lead to severe damage. A malfunctioning cooling fan is often the culprit. The cooling fan installed on top of the front-mounted Kawasaki engine can break. If the cooling fan is not operational, the engine can overheat, causing the surrounding plastic to melt. This situation creates a risk of fire and serious injury.
To troubleshoot overheating, follow these steps:
Check the Cooling Fan: Inspect the fan for any damage or obstructions.
Clean the Engine: Remove grass clippings and debris that may block airflow.
Monitor Oil Levels: Ensure the oil is at the correct level and in good condition.
Inspect the Fuel System: Ensure the fuel is fresh and free from contaminants.
Low Power Output
Low power output can lead to inefficient mowing. You may notice that your mower struggles with thicker grass, often stopping completely rather than bogging down. A user compared a 40V electric mower to a 4 hp gas mower, noting the electric mower’s struggles. This illustrates how low power output can lead to inefficiency in mowing tasks.
To address low power output, consider these troubleshooting steps:
Check the Air Filter: A clogged air filter restricts airflow, reducing engine power. Clean or replace it as needed.
Inspect the Spark Plug: A dirty or worn spark plug can hinder performance. Clean or replace it to improve ignition.
Examine the Fuel System: Ensure the carburetor is clean and the fuel is fresh. Stale fuel can cause power loss.
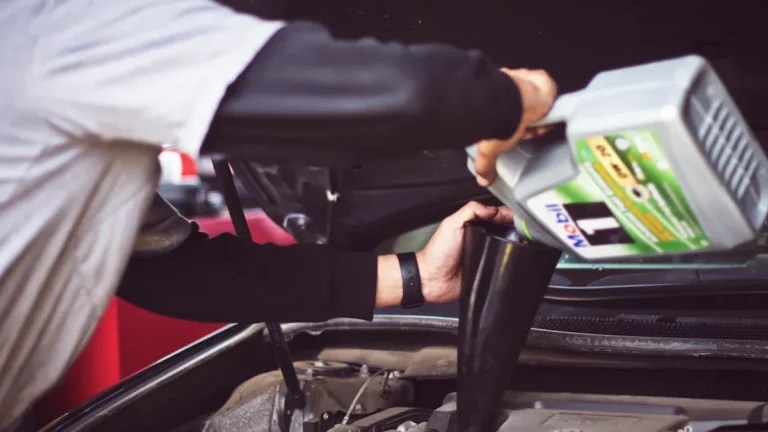
Excessive Oil Consumption
Burning excessive oil can indicate serious engine issues. If you notice blue smoke from the exhaust, your mower may be consuming too much oil. To troubleshoot this problem, follow these steps:
Check Oil Levels and Quality: Monitor the oil level and its condition. Dark, thick, or burnt-smelling oil indicates potential overheating or leaks.
Repair or Replace Worn Parts: Inspect and replace worn components like piston rings, valve seals, or gaskets that may cause oil burning.
Fix the PCV System: Ensure the PCV valve is functioning properly; replace it if cracked or clogged.
Use High-Mileage Engine Oil: For engines over 75,000 miles, switch to high-mileage oil to help reduce oil consumption.
By addressing these engine issues promptly, you can prevent further damage and ensure your lawn mower operates efficiently.
Fuel System Problems
Fuel system problems can hinder your lawn mower’s performance. Issues like a clogged carburetor, stale fuel, and a clogged fuel filter often lead to frustrating situations. Here’s how to troubleshoot these common problems.
Clogged Carburetor
A clogged carburetor can cause significant issues. You should clean your carburetor two to three times a year. Neglecting this maintenance can lead to starting difficulties and engine performance problems. Signs of a clogged carburetor include:
Black smoke from the exhaust
Increased fuel consumption
Uneven blade movement
Engine stuttering
To clean your carburetor effectively, follow these steps:
Ultrasonic Cleaning: Place parts in the cleaner’s basket without touching each other. Set the temperature to approximately 70°C (158°F) and run for 20 to 40 minutes. Rinse and dry the parts before reassembling the carburetor.
Manual Cleaning: Use brushes and carburetor cleaner sprays for minor cleaning. This method may not reach internal passages effectively.
Soaking: Immerse the carburetor in a cleaning solution overnight to dissolve deposits, though it is time-consuming.
Stale Fuel
Stale fuel can lead to poor engine performance. If your mower has been sitting for a while, the fuel may have degraded. This can cause starting issues and reduced power. To prevent stale fuel, always use fresh gasoline and consider adding a fuel stabilizer if you plan to store your mower for an extended period.
Clogged Fuel Filter
A clogged fuel filter can restrict fuel flow, leading to engine problems. Signs of a clogged fuel filter include:
Engine runs too lean, leading to diminished performance.
Uneven operation of the engine.
Difficulty starting the engine.
To replace a clogged fuel filter, follow these steps:
Shut the fuel valve or clamp the gas line.
Remove the metal clips and slide the filter out.
Inspect the filter for debris by looking through it.
Replace if clogged, ensuring correct installation direction.
By addressing these fuel system problems promptly, you can keep your lawn mower running smoothly and efficiently.
Air Filter Maintenance
Maintaining your lawn mower’s air filter is crucial for optimal performance. A clean air filter ensures that your engine receives the right amount of air for combustion. Neglecting this maintenance can lead to several problems.
Dirty Air Filter
A dirty air filter can cause significant issues for your lawn mower. Here are some consequences of operating with a clogged filter:
Increased Fuel Consumption: A dirty air filter forces the engine to work harder, leading to higher fuel usage.
Trouble Starting: Insufficient air due to a clogged filter can prevent the engine from starting.
Power Loss: Reduced airflow results in less combustion and horsepower, causing performance issues.
Long-term Engine Damage: Accumulation of debris can lead to premature engine failure and increased maintenance costs.
To keep your air filter in good condition, check it regularly. According to manufacturer guidelines, you should change air filters annually for optimal performance.
Airflow Issues
Airflow issues, particularly from clogged or dirty air filters, significantly affect engine performance. When the air filter is obstructed, it limits airflow to the engine. This leads to a rich fuel mixture that hinders proper combustion. As a result, you may notice reduced power and efficiency.
To maintain proper airflow, follow these steps:
Inspect the Air Filter: Check for dirt and debris regularly.
Clean or Replace: If the filter is dirty, clean it according to the manufacturer’s instructions. If it’s too clogged, replace it.
Monitor Performance: Pay attention to how your mower runs. If you notice a drop in power, it may be time to check the air filter.
By prioritizing air filter maintenance, you can ensure your lawn mower operates efficiently and effectively. Regular checks will help you avoid unnecessary repairs and keep your lawn looking its best.
Electrical Problems
Electrical problems can disrupt your lawn mower’s performance. You may encounter issues with the battery, wiring, or ignition system. Here’s how to troubleshoot these common electrical problems.
Battery Issues
If your lawn mower’s battery won’t hold a charge, it can prevent the mower from starting. To diagnose battery issues, follow these steps:
Check the battery seating and terminals. Ensure the battery is securely in place and clean the contacts.
Test the battery on a charger. Look for solid charging lights to confirm functionality.
Cycle the battery. Fully discharge and recharge the battery 2-3 times to reset it.
Check with another tool. Test the battery in a compatible tool to determine if the issue lies with the mower.
Test with a multimeter. A healthy battery should read around 20V when fully charged.
To maintain your battery, store it in a cool, dry place. Charge it to 50-70% before storage and give it a top-up charge every 2-3 weeks. Regularly clean the contacts to ensure good performance.
Wiring Problems
Wiring problems can lead to various operational issues. You might notice the engine stalling or the mower failing to engage the blades. Broken, jammed, or knotted wires can cause these problems. To troubleshoot wiring issues:
Inspect all visible wires for damage.
Look for loose connections that may disrupt power flow.
Replace any damaged wires to restore functionality.
Ignition System Failures
Ignition system failures can prevent your mower from starting or cause it to shut down unexpectedly. Common causes of ignition system failures include a failing ignition coil. Here are some symptoms to watch for:
Cause of Failure | Symptoms of Failure |
|---|---|
Failing ignition coil | Intermittent starting |
Unexpected shutdowns | |
Weak engine power |
If you suspect ignition issues, check the ignition coil and other components. Replacing faulty parts can restore your mower’s performance.
By addressing these electrical problems promptly, you can keep your lawn mower running smoothly and efficiently.
Blade Maintenance
Maintaining your lawn mower blades is essential for optimal performance. Dull or damaged blades can lead to poor cutting quality and harm your lawn’s health. Here’s how to address common blade issues.
Dull Blades
Dull blades do more than create a ragged cut; they damage the turf. When you use dull blades, the grass ends turn white, making them susceptible to pests and diseases. This leads to unnecessary stress on your lawn. Here are some key points about dull blades:
Sharp mower blades prevent damage to the grass.
Dull blades increase the surface area of jagged edges, making the lawn more susceptible to pathogens and pests.
Sharp blades provide a clean cut, reducing the risk of fungal diseases.
To maintain sharp blades, sharpen them regularly. You should aim to sharpen your blades at least once a season or more often if you mow frequently.
Blade Damage
Inspecting your blades for damage is crucial. Signs of blade damage include:
Uneven cutting, which indicates dull or damaged blades.
Difficulty mowing, signaling worn-out blades.
Visible damage, such as nicks or warping.
Increased noise and vibration during operation.
Increased fuel consumption, as dull blades make the engine work harder.
If you notice any of these signs, it’s time to address the issue. Sharpen the blades if they are dull, or replace them if they show significant wear. Always check compatibility when purchasing new blades to ensure they fit your mower model.
Proper Installation
Proper installation of blades is vital for safety and performance. Follow these steps for correct installation:
For push mowers, tip the mower on its side with the air filter and carburetor facing up to prevent leaks. Stabilize it with a block of wood or brick.
For riding mowers, elevate the mower deck to access the blades. If necessary, remove the mower deck entirely by disconnecting the drive belt and other components.
Remove the old blade, noting its orientation before removal. Use a blade removal tool or a block of wood to prevent spinning while loosening the bolt.
Install the new blade, ensuring the marked side faces down. Hand-tighten the bolt and then secure it with a wrench, checking the torque as per the mower’s manual.
By following these blade maintenance tips, you can ensure your lawn mower operates efficiently and keeps your lawn looking its best.
Maintenance Tips
Regular maintenance is crucial for preventing common lawn mower problems. By following these tips, you can keep your mower in top shape and extend its lifespan.
Regular Cleaning
Cleaning your lawn mower regularly can significantly enhance its performance. A clean mower operates more efficiently and provides a better cut.
Keeping the deck clean often improves cut quality more than people expect.
Make it a habit to remove grass clippings and debris after each use. This simple step prevents rust and ensures your mower runs smoothly.
Seasonal Checks
Performing seasonal checks helps you catch potential issues before they become major problems. Here are some essential tasks to include in your seasonal maintenance routine:
Use fresh gasoline to prevent idling issues.
Change the oil at least once per season.
Replace the air filter and air cleaner at least once a season.
Grease moving parts to ensure smooth operation.
Inspect and sharpen mower blades regularly.
Clean the undercarriage to prevent rust.
Check the spark plug and air filter for optimal performance.
By staying proactive with these checks, you can avoid many common lawn mower problems.
Storage Tips
Proper storage is vital for maintaining your lawn mower during the off-season. Follow these tips to ensure your mower is ready for use when the season returns:
Fuel Stabilization: Adding a quality fuel stabilizer prevents fuel from deteriorating and clogging the fuel system, which is crucial for engine performance.
Oil Change: Performing an oil change before storage protects the engine and ensures it runs reliably in the next season.
Air Filter Maintenance: Check and replace the air filter if necessary to maintain optimal engine performance.
Battery Care: Connect a battery trickle charger to keep the battery healthy during the off-season, preventing discharge.
Cleaning the Mower Deck: Remove grass, dirt, and debris to prevent rust and corrosion, which can affect performance and cut quality.
By following these lawn mower maintenance tips, you can ensure your mower remains in excellent condition and ready for action when you need it.
Maintaining your lawn mower is essential for its longevity and performance. Key maintenance tasks include:
Oil changes: Prevent moisture buildup and protect engine parts.
Spark plug replacements: Ensure easy starting and optimal performance.
Blade sharpening: Provide clean cuts and efficient mowing.
According to Marcus Garner, an urban regional Extension agent, keeping the engine in tune and delivering routine maintenance preserves its function. Regular tasks, like checking the air filter and sharpening blades, enhance performance and prevent minor issues from escalating. By taking these steps, you can ensure your mower remains reliable for years to come.